In this tutorial I will show you how to replace cracked/broken or flickering laptop screens on Sony Vaio VPCEH, VPCEJ, VPCEH1L8E, VPCEH1S0E, PCG-71911M, 91211M series. The Sony Vaio VPCEH, VPCEH1L8E, VPCEH1S0E, PCG-71911M
series come solely with 15.5 HD LED LCD
XBLACK widescreens with resolution of 1366 x 768 while the VPCEJ model PCG-91211M has a bigger 17.3. This replacement instruction can be used for many other Sony Vaio laptop notebooks.
 |
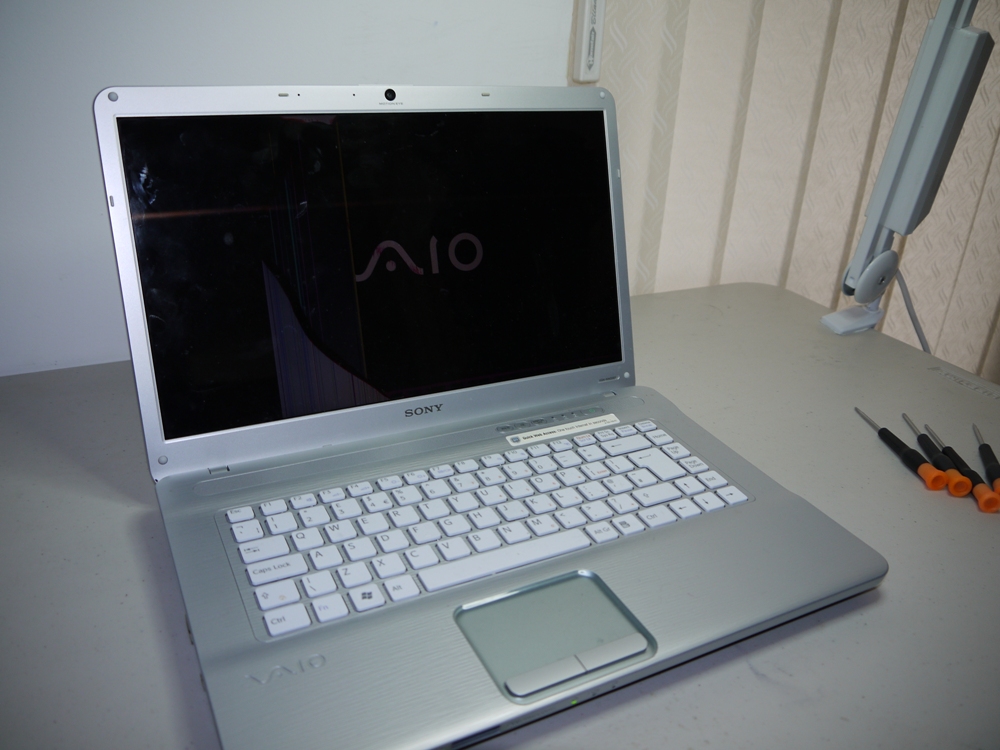
| Broken Sony Vaio Laptop Screen |
Usually to replace a laptop screen tools that are needed are precision screwdrivers and the LCD screen only.
One of the very most important thing when carrying
out laptop screens replacement is to remove the
laptop battery before starting anything as if this is
not done may cause more problems. So remove the
battery and only use it if you have to test the screen
during the replacement.
 |
| Remove rubber covers to expose screws |
This image on the left shows how you will take
the screw covers off which will then expose
the screws holding down the bezel to the top
part of the laptop. Remove the screws too and
keep them safe.
The next thing is to place your fingers between
the Sony Vaio screen and the bezel and start
pulling slightly on all the sides until the bezel is
pulled free from the laptop. This needs to be
done carefully as shown in the images below.
 |
| The best trick is to pull up to remove bezel |
For most Sony Vaios the bezel will be hard
to remove. The trick is to pull up as in the image
on the right. Sony Vaio bezels are very fragile
and can easily snap so do this with care. You
must not pull too hard.
Looking at the picture below it is then time to remove the side screws holding the screen to the hinges arms.
This is the major structure of the internal part of the screen mechanism whereby if this part is not well
screwed back after the screen repair may result in the screen cracking on every impact. When removing
the screws make sure they are well places so as not to have them mixed up.
 |
| Unscrew side screws holding the screen |
In the image below you will see how the screen is placed face-down on the keyboard area to expose the back of the screen which consists of the screen display cable, connectors and screen part number. The part number for the Sony Vaio VPCEH, EH1L8E, EH1S0E and PCG-71911M notebook will have part number as below;
B156XW02 made by AU Optronics
LP156WH2 made by LG Philips
LTN156AT02, LTN156AT05, LTN156AT09 or LTN156AT16 made by Samsung
N156B6-L06 made by Chi Mei or
N156BGE-L21 made by Chimei Innolux
All the above screens are compatible.
 |
| Back of Sony Vaio Screen |
Carefully remove the yellow or clear tape, pull up the clear tape and carry out the data disconnection as below.
This must be done with care as any mistake may cause a permanent damage to the cable or the connector.
 |
| Remove Clear Tape |
 |
| Remove Display Cable Connection |
The screen removal process is complete. To replace the screen you now need to carry out the
instruction in a reverse order.
Only buy original laptop screens as regular screens may not give you same quality and screen brightness control.
Hope this has helped you to replace your broken Sony Vaio Laptop Screen. Leave us a feedback by
commenting and if you have any questions also use the comment form and I will reply you personally.
 |
| Sony Vaio Screen Removal |
.


I have problem with a dark screen in my Vaio PCG-71318L, with LCD N156bge-l21, i suspect it 's a backlight issue, i disarmed and i could not find the INVERTER board, does this laptop used it ?
The Chimei Innolux screen N156BGE-L21 is LED and will not carry an inverter board at the bottom. I suggest replacing the screen and see if that solves the backlight problem.